by Doris Sander

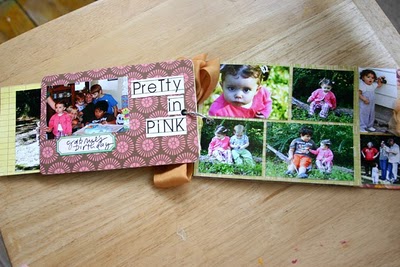
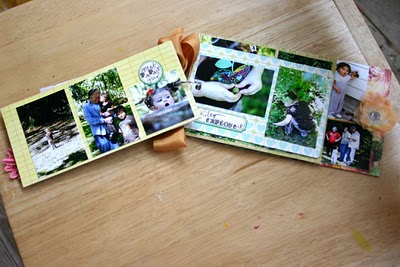
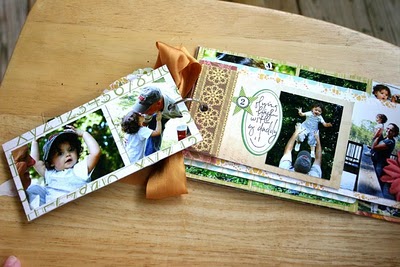
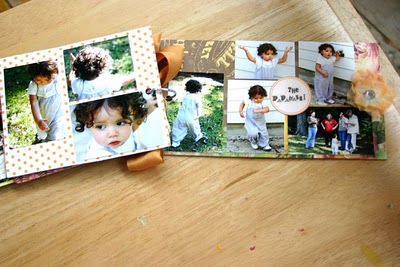
When you use scraps and product packaging to make a “hodgepodge” mini album you get a charming and inexpensive project for your photos. Add this time-save process and you’ll have a great stash of minis to keep and give away.
I will confess: I was initially a bit intimidated at the thought of making hodgepodge mini-albums. Since then, I’ve developed my own approach to putting them together, and now I am hooked. Here’s what I do:
hodgepodge mini album ingredients
As you’re acquiring and using product for your other scrapbook pages, be sure to save the chipboard backing from packaging. Keep an eye out, also, for the scraps and little bits that lend themselves to a mini album.
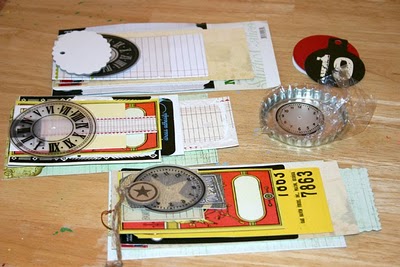
Here’s a look at packaging, scraps and leftover items from product I’ve used on scrapbook pages. Based upon width, I stack my items from smallest to largest. Each of these minibooks will have nine pages.
“assembly line” production of hodgepodge mini albums
I’ve found that using this time-save approach is a great way to put together a nice stash of gift albums.
As you’re clearing your workspace, spend five minutes arranging your scraps and papers and into stacks for several mini albums. When you’ve got a spare half-hour, cover fronts and backs of packaging materials with patterned paper. Don’t overthink it, just cover them!

I adhere patterned papers directly to chipboard packaging then cut off the excess and lightly sand the edges. You can save even more time by lining the chipboard up along straight edges of the paper to avoid a cut or two.
add photos and journaling
Once the photos are mounted, go back through and add titles and journaling. I used label stickers, journaling cards, and letter stickers on the interior so my album would lay flat.
finishing touches
Save one for yourself and put one in the mail as a very special gift! The trip to the post office is always the hardest part for me!
[dsander]


