So we have these different nibs or tips on your markers, they color differently but what else can they do? Typically I cut out the images I color and add them onto my cards or layouts, but many card artists cut out a square or rectangle around their image and put the whole thing on their card or creation. For fun I wanted to share just a couple things you can do with your markers around your image, taking advantage of the different styles of nibs.
The chisel nib makes an awfully cool brick pattern.
All you do is press the tip to the paper quickly and lift. Scoot over on your paper and press again leaving a little tiny bit of white.
Create one row and then another, off setting them so they have that brick look. I used three earth markers to create some variation in my bricks.
I added a doodle sitting on top of this brick wall and then added an outline to several of the bricks. I used a Multiliner marker to do all the doodling.
The brush nib can do a lot of fun things.
Grass works great to ground your image. Use the side of your nib to create tear drop shaped grass blades.
Here is a small patch of grass. I used two yellow greens to give a little more depth to the grass.
And here is a small bird making it’s way through my little patch. I used a Basic Grey Stamp and masked off the feet so he looks like he is standing right in the middle of deep blades.
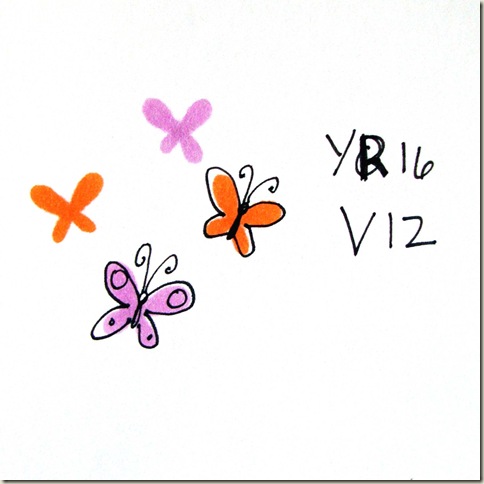
You can also make butterflies with the tear drop shape from the brush nib. Keep the point towards the center and if you want the bottom wings smaller just use less pressure. I added doodling on top of two of my butterflies just to add a little detail.
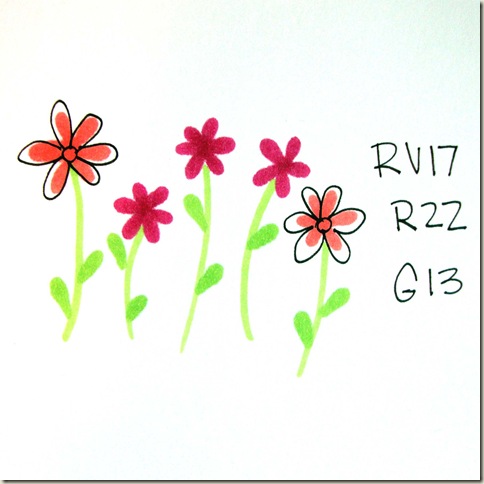
Flowers are an option as well with the brush nib. Similar to the butterflies keep the tips to the center just add 5 or 6 petals. I added small stems with a light stroke from my brush nib and leaves with my tear drop shape as well. Again a few flowers got some extra attention with the Multiliner.
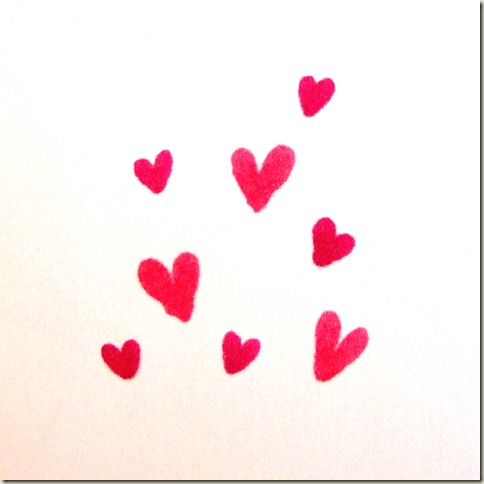
Hearts are a very simple shape with the brush nib. Just bringing two tear drop shapes together, I have made the varying sizes by using more and less pressure to create smaller or larger tear drop shapes.
One last little image to send you on your way! Have fun experimenting with your Copics and exploring the possibilities with the different nibs!
[mhoughton]


