by Dina Wakley
 I love manila tags. I think this love stems from my affinity for office supplies. I can go into an office store and browse for hours. There’s just something about new pens, sticky notes, and shipping tags that makes me happy. Manila tags generally come in sizes that range from #1 (about 2 ¾ x 1 3/8”) to #8 (6 ¼” x 3 1/8”). Smaller tags are perfect as journaling spots. Larger tags are perfect for stand-alone projects.
I always have a stack of tags on my table. I grab them to blot up extra ink and paint from my palette, I journal on them, I even write notes on them. They’re an indispensable part of my studio! Perhaps I can get you hooked on tags, too. Why use manila tags?
- They’re inexpensive.
- They’re less intimidating than a big sheet of cardstock.
- The manila color is a great neutral.
- They’re just fun!
Here are some ways to use manila tags:
1. Create small works of art.
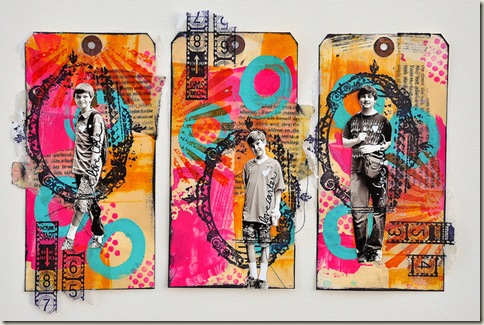
Stampers have used tags for years to create mini works of art. A tag is small (i.e. not intimidating) and cheap (i.e. it’s okay if you mess up). Tags are great for experimenting with new techniques, too. I created these three tags with stamps, ink, and beeswax. They can stand on their own, or look even better grouped together. I could put these on a layout or canvas, too. These tags are a #8 heavyweight manila tag.
2. Use tags as a mask for an interesting background.
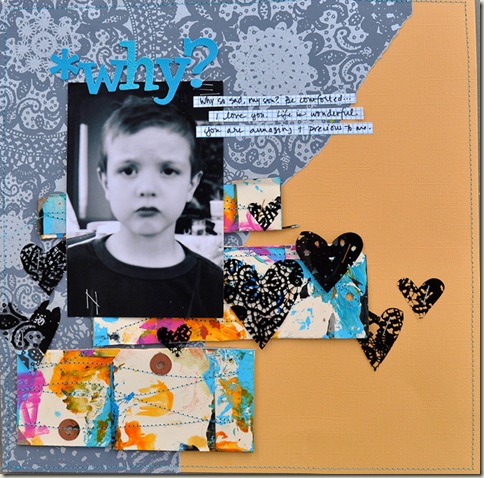
Lay tags right into your cardstock and paint or spray around them. Remove the tags & save them for another project. When your ink or paint is dry, build a layout around your masked images. The tags that I masked around for this layout are #6.
3. Use painty and inky tags to create a colorful background element.
I hate to waste paint, so if I have leftover paint on my palette I will grab some manila tags and drag them through it. I set the tags aside to dry and then put them in a big scrap box. Often I dig through the box and find the messy, painty tags are the perfect thing to add “oomph” to a layout. For this layout I cut and sewed the tags, and then layered them onto the page.
4. Insert tags into mini albums to make extra pages.
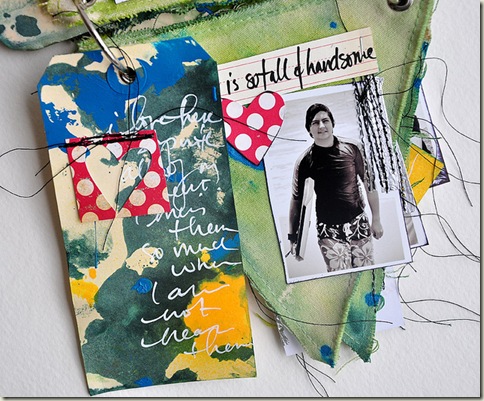
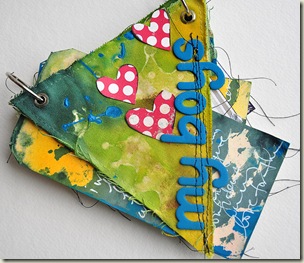
As I created this mini album, I realized I wanted some more space for journaling. I grabbed some tags, inked them, and added them into the mini album. They were perfect for visual interest and extra journaling space.
5. Use tags as journaling spots.
Tags make perfect journaling spots! Just write on the tags and incorporate them into your layout just as you would any other journaling element.
6. Use tags as a decorative element.
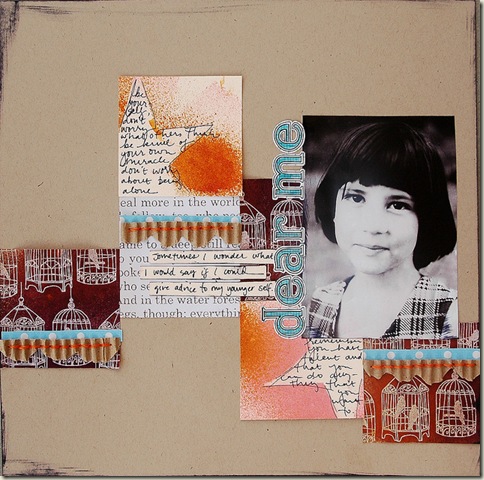
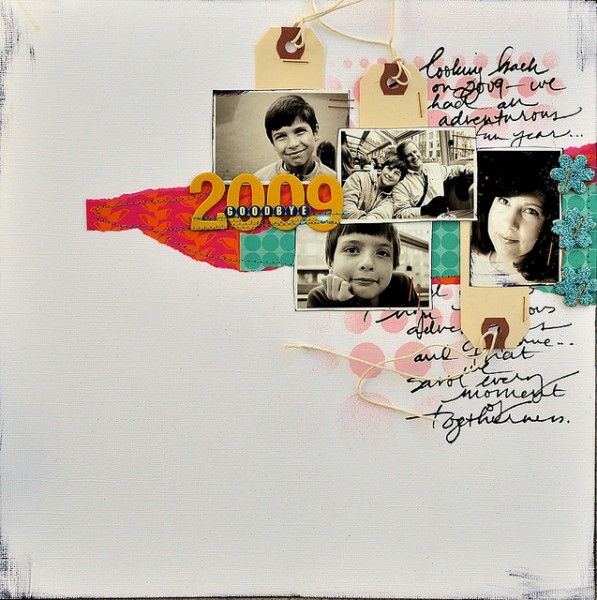
I love the way the top of a tag looks—the reinforced hole and angled corners just look cool. For this page I wanted to use the tops of the tags as patterned paper. I simply trimmed the tags and stapled them onto the layout. These tags are small, about size #1.
Break your tags out of your stash and try incorporating them into your scrapbooking. I think you’ll love it!
[dwakley]
[current]

