
by Tami Taylor
“Organizing is what you do before you do something, so that when you do it, it is not all mixed up.”
– A. A. Milne
Lately, I’ve been trying very hard to change my scrapbooking process. With the numerous children I have, it’s hard to find time to just breathe, let alone scrapbook. (OK so there are only four in my home, but they’re all boys so some days it feels like 40.)
My process used to be a half hour of cleaning up and looking through my stash to remind myself how cool some of my stuff is. About 30 minutes to find that photo that I was thinking of before I walked into the room; then I’d spend maybe 30 minutes starting a page before it was time to cook a meal, put someone in a bath or read someone else a bedtime story. I realized quickly things had to change. Where was I to start?
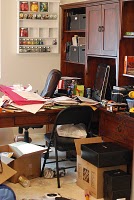
Let me start here by showing you a glimpse; and I literally mean glimpse. (I’m half debating whether this photo will remain online after looking at it again.) I started this project about six months ago. When I first moved into the room I just put things where ever to get unpacked and be done. This method does not work, I advise against it at all costs. I decided I needed to regroup and reassess. I took a long hard look at the purpose of the room, what the best furniture layout would be, I bought books about organizing and read them (OK not all the way through, but still; I tried). It was so overwhelming. What worked for one person, wouldn’t work for me, I didn’t scrapbook that way. I couldn’t afford a ton of expensive containers; besides I had collected enough over the years.
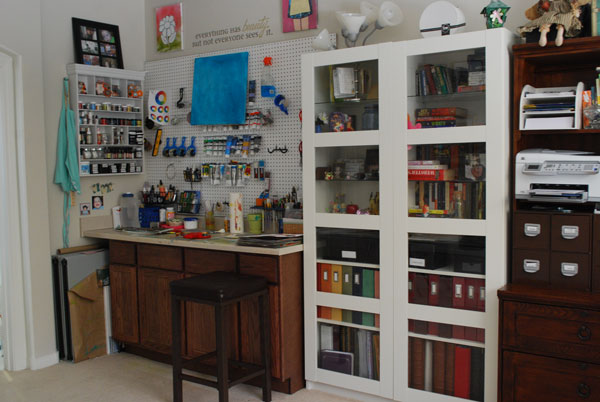
What it finally took was two good friends, who showed up not once, but twice to be slave labor. Add in a 13-year-old who actually thought it’d be fun to move a large wall desk, and you’re in business! Having someone kick me in the pants and say “let’s just get it done” is what it took. More than that, having to articulate what my process is, out loud, and give someone else an idea of what I wanted the room to be, again out loud, was the doorway to getting it done. Verbalizing my pitfalls as a scrapbooker and having friends point out ones I didn’t realize helped with the “don’t do this” list of the room. Take for instance the photo above, it alone shows some of the things that do not work:
- I am a pile gal. When something doesn’t have a home or I need to make a decision about it, I just pile it somewhere for later. It was clear I needed a space for everything, and I needed to remove as much ‘decision-making’ about it as I could.
- I needed things I use in reach. If you look at the embellishment display on the wall, many jars are missing. I rarely put them back because it involved turning around, and away, from my project. When I’m in the zone I don’t like stopping even to go 4ft to put a jar away.
- I like having people over. My space at the time of the photo, had the desk right when you walked in the room. This didn’t allow for more than a chair on the other side of an already small space.
- That chair is was also occupied 9 times out of 10 by a then 4yr old. Trying to scrapbook with a 4yr old 3ft from your face isn’t the easiest thing to do. They want to touch your things and ugh, talk… a lot.
- The last thing was some other things were out of reach, things like inspiration books and my printer were on the other side of the desk. My desk is amazing I can make it a T shape or an L. Why I chose to make it a T shape in this room, I’ll never know.
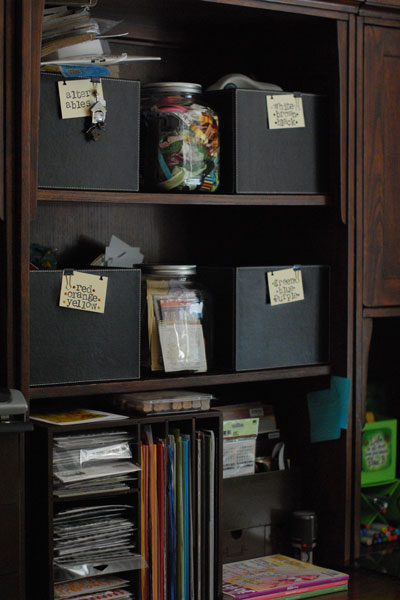
Round one was a purge. I purged, my friends and kids took my discarded items. I tried to group things into like categories, and left them in piles. Did I mention I love piles? Round two, my son helped me move my desk and reconfigure it into the L shape. Not having the desk part jut into the middle of the room freed up an immense amount of floor space. Then came round three. I purged more, I realized my color system is the only thing that worked so now not only were small embellishments grouped by color but larger ones were. I purged more, I cleaned, I moved, I was inspired and at the end I have a new scraproom that is functional to me. It fits my system and how I scrapbook so it’s easy for me to pick up within 15minutes of being done scrapbooking. What does that mean? It means I no longer spend 30 minutes clearing a spot so I can scrapbook! Now if I gain time in the day to scrapbook I can just go start!
Here are some highlights of my scraproom and a video tour my son helped me tape.
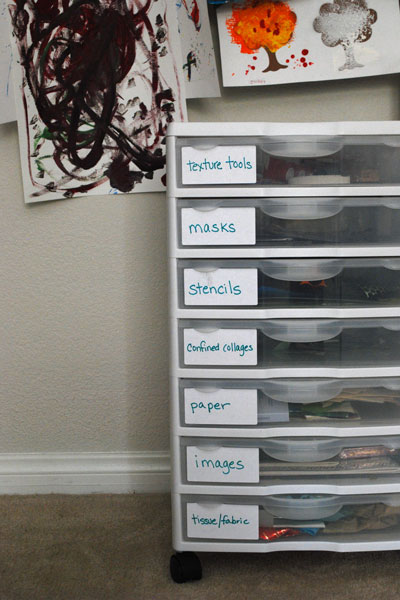
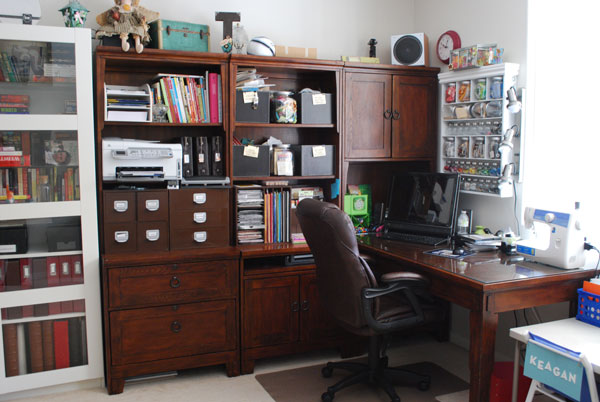
- First I made sure everything had a home. I rearranged and took full use of iris carts, shelves and bins.
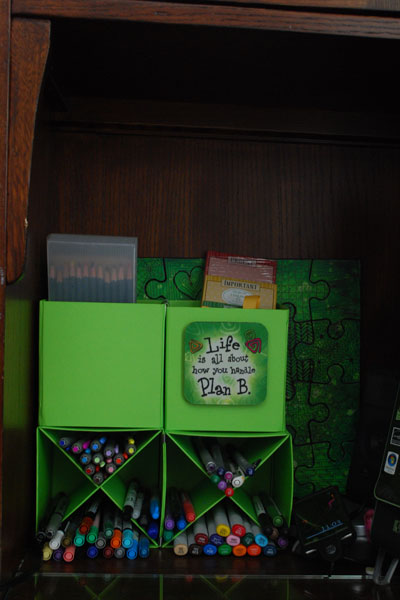
- I moved the desk to the other side of the room, and had my embellishments and paper all within hands reach. This even meant limiting the amount of paper I kept out; I store additional scrapbook paper in the doors under the stash I keep out. Keeping the furniture on one side frees up so much space on the other side of the room. I can fit a 6ft folding table in my room now when friends come to visit and play. It also lets me paint and ink on my pages, then move to my desk to embellish and journal.
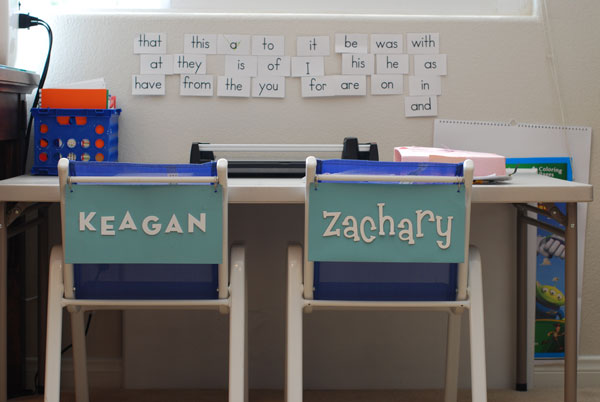
- Keagan and Zach needed their own space to make messes and not worry they were getting into Mom’s things.
For the tour, watch the video below:
[ttaylor]
