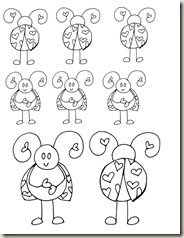
 To finish off your projects in February and get a jump start on those photos from Valentine’s Day, here is a little Luv Bug from me to you. I included a front shot and back shot to show off his festive wings. I’ll walk you through how I colored both with different colors. Remember you can use whichever colors you have in your stash! So let’s print out this page of Luv Bugs and get ready to color.
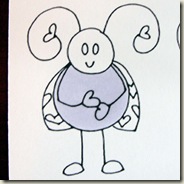 Step #1 – Lets start with the front view, for this bug I am using B60, B63, BV04 and BV08. I am starting with the body, a nice big round sphere. Fill the space with your lightest color (B60) using small circular strokes to get even coverage.
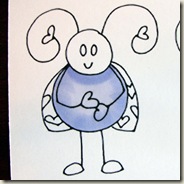 Step #2 – Using your darker body color (B63) feather stroke in from the edges and add a shadow under the head of the bug.
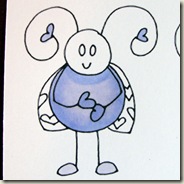 Step #3 – Blend this layer in with your lighter color (B60) and then fill in the feet. Fill in the hands and the antenna hearts with your darker color (B63).
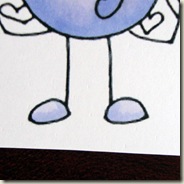 Step #4 – Add just a touch of shading to the feet with your darker color (B63).
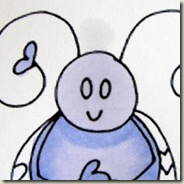 Step #5 – Fill in the face with your lighter color (B60). You’ll notice in my photo I also did a little correction with the blender marker to correct going out of the lines, oops!
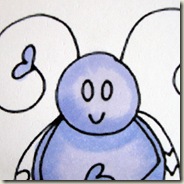 Step #6 – Use your darker color (B63) to add shading to the face, feather in from the outer edge.
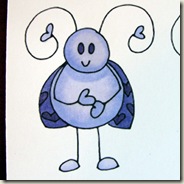 Step #7 – Blend the darker layer in with your lighter color (B60). Now for some plain old coloring, fill in the wings with the next darkest color (BV04). Use an even darker color (BV08) to fill in the hearts and the eyes.
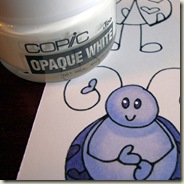 Step #8 – One last step on this little bug add a small highlight on the eyes. I added mine with an opaque paint made by Copic for just such a highlight. An opaque white marker or pen will work as well.
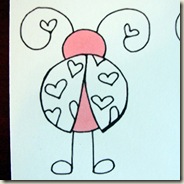 Step #9 – On to the backside of our luv bug. I am switching colors but you can stick with whichever ones are working for you. For this bug I am using RV21, RV23, RV29, RV14, RV17, and RV19. Start with the lightest color (RV21) and fill in the body and head. I am doing both together but you can do one at a time.
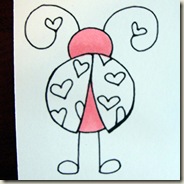 Step #10 – Use the middle color (RV23) to add shading along the bottom edge on the head and from under the wings on the body.
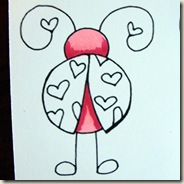 Step #11 – Blend back in with your lighter color (RV21) as needed. Add your darkest color (RV29) to the edges on both the head and body.
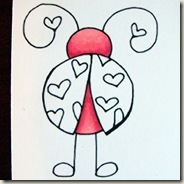 Step #12 – My color jump from RV23 to RV29 is a huge one so it takes some works to blend the colors. I used my middle color (RV23) to blend, it just took a lot of work with small circles to get there.
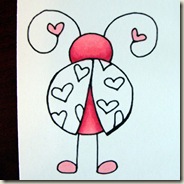 Step #13 – Fill in the antenna hearts and the feet with your lightest color (RV21).
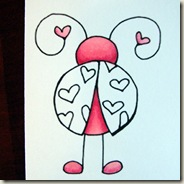 Step #14 – I used a tip to tip blending technique to add just a touch of darker shading to both the feet and the hearts. I pick up ink from my darkest color (RV29) with my lightest color (RV21) and added it to both areas.
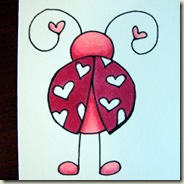 Step #15 – I used another shade of pink (RV17) to fill in the wings.
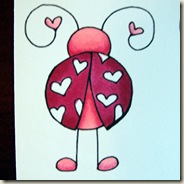 Step #16 – Add some shading with a darker color (RV19) to the outer edges of the wings.
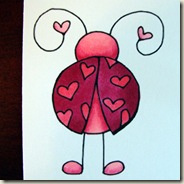 Step #17 – Blend the darker color in with the base color (RV17). Color in the hearts with a lighter color (RV14).
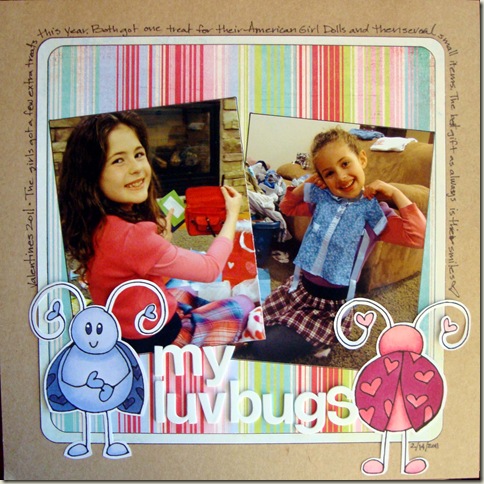
A luv bug front and back all bright and cheery to go on your project. I am including my larger ones on a scrapbook page this time!

 [mhoughton]