Now that the holidays are wrapping up and you’ve got a bit more time on your hands to “get it scrapped”—Macgyver’s got some fun ideas in store for you each month that will help you to: (1) use up your stash, (2) try out new tools and (3) repurpose some of those everyday household objects–that up until now you may have been ignoring! I hope you’ll join me each month in exploring all of these fun techniques and I look forward to being inspired by all of your creations!

The Case of the Holiday Leftovers
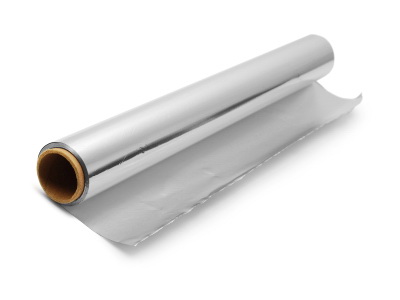
Nothing reminds us the holidays have passed like leftovers…right?! You’re sure to have this common household object on hand! If not…no worries, you can buy several feet of tinfoil for less than a dollar at your local superstores and bargain stores and then craft with it all year long!
Did you know:
That cutting or punching through several layers of tinfoil repeatedly can sharpen your scissors and punches. Then when you’re done you have strips of tinfoil to work with and tinfoil diecuts and stencils to use on your layouts. Think of all the time, money, and energy you could save–all while adding a bit of flair to your scrapbook pages!
Now let’s have a look at a couple of different ways you can use this shiny kitchen aid to brighten your layouts!
Sprinkle Foil Embellishments Across Your Layouts
- If you’ve sharpened your punches recently, put those punched images to good use, if not, punch or cut an image or series of images from the tinfoil.
- Crinkle for texture or leave it in pristine condition…its your choice.
- Color with paints or inks if desired.
- Or add a gel medium for durability.
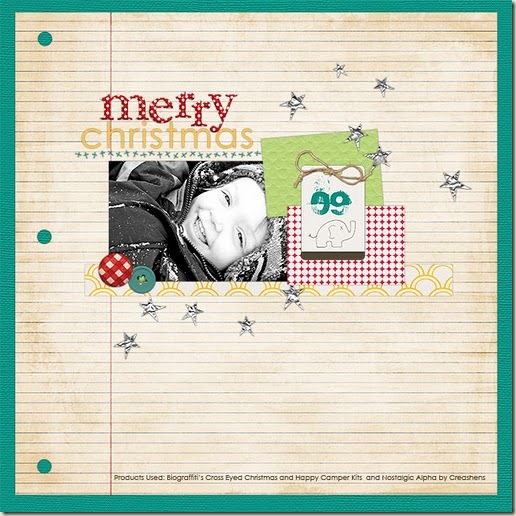
- Then sprinkle them over your page.
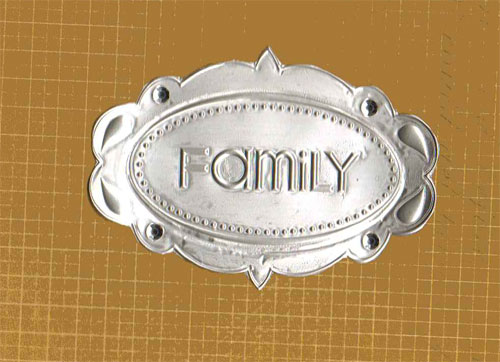
Create an Embossed Metal Tag
- Cut identically sized pieces of cardstock and tinfoil, large enough to house your embossed image.
- Apply an adhesive to your cardstock and lay your tinfoil over top–shiny side up for a polished silver effect, dull side up for more of a brushed nickel look.
- Use your embossing stylus and plates or your embossing folders and embossing machine, and emboss the piece of cardstock-backed tinfoil.
- Punch or cut out your image and embellish.
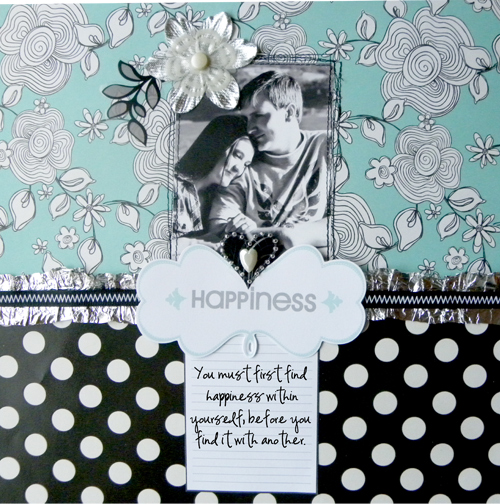
Use it for a Shiny Border or Trim
- Cut a long thin strip of tinfoil.
- Accent your strip with pleats & stitching, brads, or by punching small die cuts from the strip.
- Then adhere your border to the page as a shelf for your photo or title to shine on!
You could also try:
- Printing your photos onto tinfoil or using an image transfer technique to give your photos a foiled effect.
- Creating a stained glass or colorful crinkled background accented with alcohol inks.
- Covering your alphas with tinfoil.
- Using your tinfoil die cuts as masks and stencils to use with paint or spray inks.
- Journaling directly on your tinfoil with a white sharpie.
- Making a tinfoil posy by stacking several tinfoil circle layers and fastening them at the center with a brad.
And for you digi scrappers:
We don’t want you to feel left out of the fun…so here are a few products you may be interested in taking a look at–to bring a bit of foiled pizzazz to your digital layouts!
- Foil Action for PS and PSE by Atomic Cupcake
- Tinfoil Alphabet by Jesse Edwards
- Tinfoil Follies and Other Remnants Overlays by Joy McManus
- Foil Frames by Merkley Designs
[akingsford]


