One question often asked when it comes to stamping is: “but how do I get the image to go where I want it to go?” Nothing is more frustrating than owning a stamp but not being able to position it where you’d like. Trust me, it’s much easier than it looks! Depending on what type of stamp you favor—rubber or clear—the technique varies. Here, I’ll show you how to position a wooden stamp image
supply list
- Stamp-a-ma-Jig or T-Square ruler
- wax paper or vellum
- mechanical pencil
- white eraser
With wood stamps you need one of the following: a really good eye, a very lucky touch, or a technique. This voice of experience votes for technique.
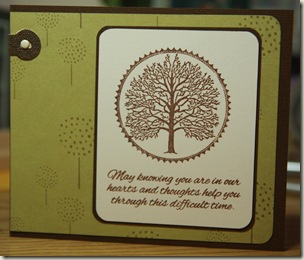
This lesson will show you how I achieved accurate placement of the tree from the wood stamp into the center of the Teresa Collins frame stamp.
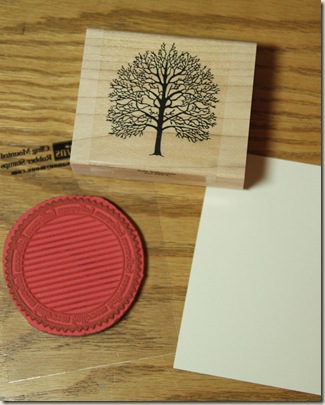
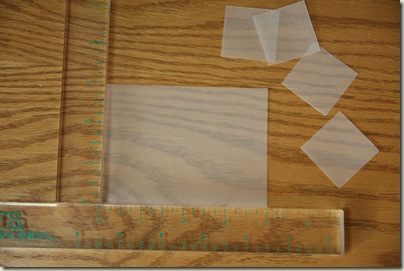
Whether you use a Stamp-a-ma-Jig, a placement ruler, a T-Square or some other form of 90-degree angle, the technique is the same. Begin by placing either vellum or wax paper directly into the corner.
As for what size, I’ll vary it depending on the size of my stamp. I often try to get more than one image onto a piece, for both storage reasons and not wanting to waste paper.
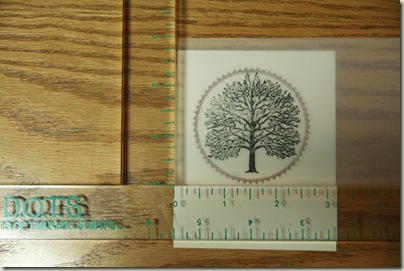
With your vellum or wax paper snug in the corner you’re ready to stamp your image. Being careful to get the corner of your stamp snug into the corner of the square, press your image straight up and down onto the vellum.
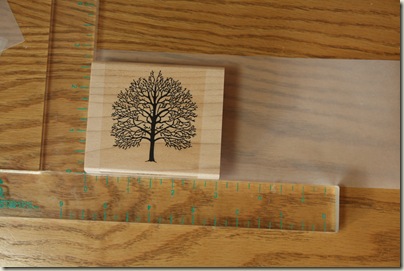
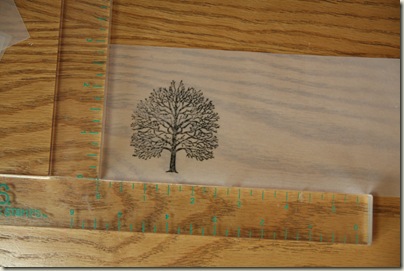 This creates a placement piece.
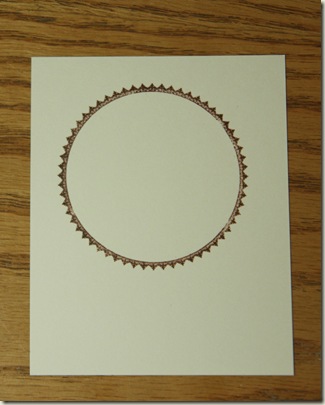
One of the many reasons I love the little cube inkpads is because they make selective inking just that much easier. Using a light touch and just the corner of my inkpad, I inked just the border (frame) of the cling stamp.
As you can see here. 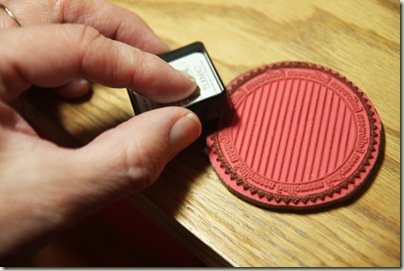 Stamping complete, my result is just the outer ring of the stamp, creating the frame I wanted.
Next, I laid my vellum piece with the tree on it so that it lay in the exact position that I wanted my tree to end up in the frame. Moving my ruler then into place and pulling my vellum piece away, I was ready to stamp. Again, making sure the stamp is snug in the corner of the placement tool, I stamped straight up and down.
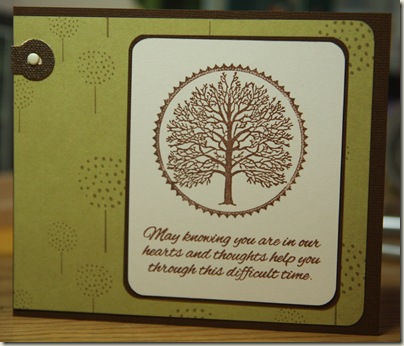
And the result is exactly what I wanted. I was able to bring together two stamps, one wood mounted, and one cling, from two different companies, and make them look as if they belonged together all along.
[stormanen]
[designclass]

