These photo trays, or “Printer Trays” as they are also called, have become a huge trend this year. They present a fun new way to frame and display your photos and, at the same time, an opportunity to add bits that reveal your personality and support your theme.
Printer Tray by Doris Sander
While there are a few options available for purchasing a photo tray—from 7gypsies or Kaisercraft–today I’m going to show you an inexpensive alternative for creating your very own photo tray by repurposing an everyday household item…any guesses as to what it might be?!
 Printer Tray by Brenda Neff
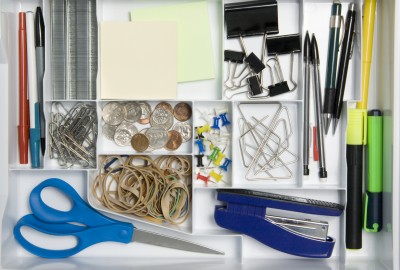
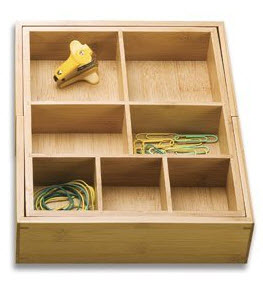
That’s right I’m talking about your drawer organizers! Now you may or may not have any extras lying around like I did, but not to worry because they are available in several colors and materials at your local superstores (and even some dollar stores) for under $5! The drawer organizer I’m working with is an expandable bamboo tray that I got for my wedding 5 years ago! But with the right finishing touches even those cheap plastic organizers can turn out looking fabulous! Ready to see how it can be done in just 5 easy steps? 
Supplies
- Drawer Organizer
- Drawer Pulls or Picture Hanger
- Photos
- Miscellaneous Papers and Embellishments
- Paint & Paint Brush (optional)
- Drill (optional)
- Bolts, screws or Foam Tape (depending on the material your tray is made of)
1. First consider the material your organizer is made out of. Since my tray had a nice bamboo finish, I didn’t feel it necessary to paint over the exterior. However, if you’re using a plastic organizer you may want to consider a fun new color or texture to jazz it up a bit. Perhaps a crackle texture, or a mosaic finish, or maybe all it needs is a fresh coat of paint?
2. If you apply any finish to your tray, be sure it’s completely dry before you continue working with it.
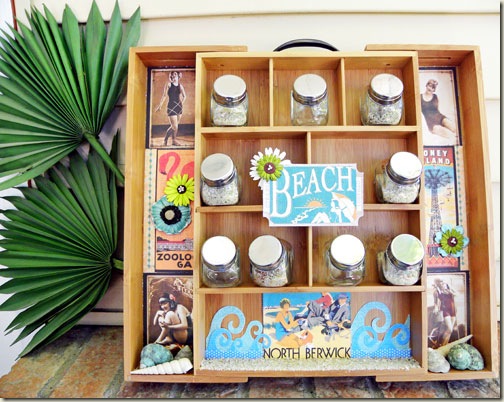
3.Next attach your hanger. With my “expandable” tray, my first step was to make it stationary. I extended it fully and used an old drawer pull to serve as both a hanger and a means of stabilizing my tray. I mounted the drawer pull on the top of the tray–in between the adjustable sections of the organizer–with a drill and some very short bolts. If you are working with wood then you could use a similar method to the one I used, or you could attach a simple picture hanger to the back using your drill and some screws. If you are working with plastic you may want to consider using a stick on type of hanger like those offered by Command.
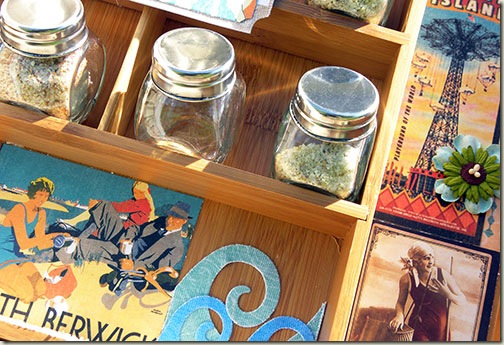
4. Now you can start decorating the cubbies in your tray using a combination of photos, patterned papers, embellishments and and even sentimental trinkets. In my Printer Tray I’ve used a fun combination of papers and elements from Scrap This Kit’s Summer Boardwalk Kit, some fun beach embellishments, and then vials of sand from all of the beaches I’ve visited throughout my life time (I’ve left a few empty for our trips to come!).
5. Now you’re ready to hang yours up on the wall or to display it in your home for everyone to see!
I hope you have fun duplicating one of this year’s hottest trends over and over! And join me next month for more ways to make your ordinary odds and ends into something extraordinary!
[akingsford]


