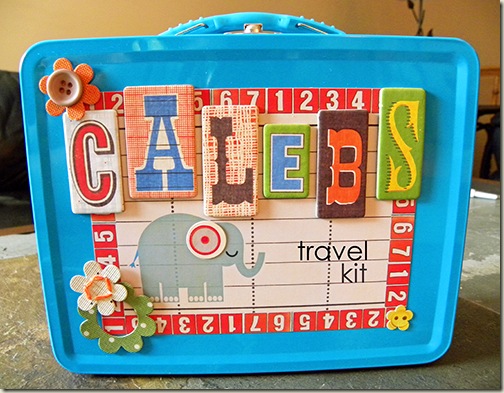
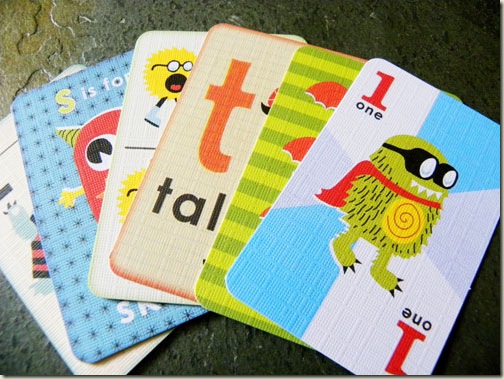
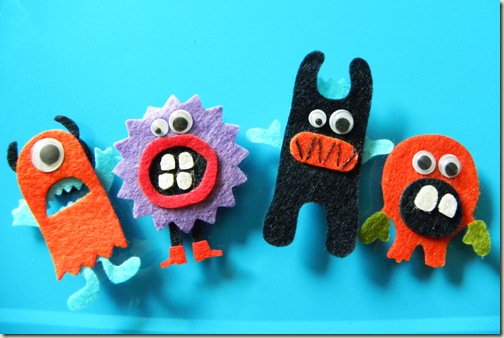
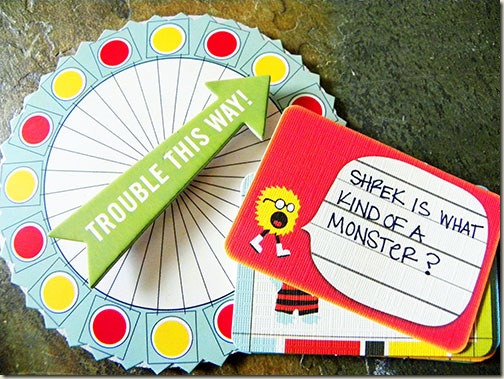
Ok so the summer is almost over, but do you all have one last camping trip or family vacation planned before your kids head back to school? If not…no worries this fun kit will keep your kids busy year round–whether they are at home or away. Use the following ideas to build a collection of board games, card games and word games that can all be stored inside a space no larger then your average sized lunch pail and can be transported and played just about anywhere!
Supplies Needed
- Lunch Pail
- Multicolored Glass Pebbles
- Recycled Food Can
- Dice
- Deck of Cards
- Timer
- Disc Magnets & Magnet Sheets
- Laminating Pouches
- White Cardstock
- PC and Printer
- Dry Erase Marker
- Piece of scrap material
- Misc. Papers, Stickers, Embellishments, Alphas.
NOTE: When deciding on the games to include in your travel pail, you are limited only by your space and your imagination. However, the idea is to make these games portable and suitable for travel, as well as tailored to your child’s age and preferences. The following tutorial aims to help you address a few obstacles and help you to consider how you can make this kit more versatile—rather than to tell you how to construct your travel pail step by step.
- You will want to resize your printable boards, scorecards, etc. to a size that will fit inside of your pail. Consider resizing them to a size that is roughly a half inch smaller than the pail itself.
- You may want to consider laminating your boards and scorecards—not only to improve durability—but also so that they can be reused with a dry erase marker, thus cutting down on the amount trash generated, as well as, the amount of scorecards you’ll have to carry with you.
- Try magnetizing your game pieces and using your pail as a playing surface, to avoid any jostling or shifting of game pieces, that might occur during travel.
- Use a single deck of cards for several games (i.e. memory, old maid, go fish, etc) instead of purchasing game specific card decks.
- Consider using dice for games you may not usually use them for (i,e, bingo, board games, etc) to cut down on the number of pieces in your kit.
- Use multicolored glass pebbles attached to magnets for game pieces that can be used for several games (i.e. checkers, connect four, tic tac toe, etc.) instead of having separate game pieces for each game. Determine the game you would need the most game pieces for (i.e. checkers or bingo) and create that number in each color.
- Consider compiling an instruction booklet that contains the instructions for all of the games included in your pail, in the event of any questions.
- Construct a shuffle cup (for shaking dice, shuffling alphas, etc.) from a recycled food can by washing it in your dishwasher, removing the previous label and covering it with your favorite paper.
- Create game pieces from embellishments, stickers, etc. from your scrapbooking stash–keeping your child’s favorite characters or objects in mind.
- For extra personalization, try designing your own game, tailored specifically to your child.
- Create multiple pails for multiple children to ensure there are enough game pieces, as well as, adequate playing surface.
- Include a scrap piece of material that can easily be washed, to use for wiping the scorecards/boards clean.
Ideas for Games (Click on links below to download instructions/printables)
- Yahtzee-print out scorecard and laminate; use shuffle cup and dice.
- Battleship-print out game boards and use magnetic game pieces and the inside of your pail to keep your boards invisible from your opponent.
- Connect Four-create a table in Microsoft Word, print it out and laminate it.
- Pictionary-use a blank laminated piece of cardstock.
- Hangman-use a blank laminated piece of cardstock.
- Tic Tac Toe-print out and laminate game board.
- Checkers create a table in Microsoft Word; print it out and laminate it.
- Go Fish-use regular playing deck.
- Crazy 8s –use regular playing deck.
- Travel Bingo –print out bingo cards and laminate; use magnetic game pieces.
- Connect the Dots– print out and laminate game board, use dry erase marker.
- Memory-cut down your deck of cards to include a sufficient number of pairs and then shuffle, or print out and laminate printable pieces.
- Trivia Games-create your own board game and trivia questions or print a premade board/cards and laminate.
- Letter Roll-print out scorecard and laminate; use leftover chipboard alphas from stash inside of the shuffle can to draw a letter.
- Scrabble-print out and laminate game board and alpha tiles.
- Phase 10– print out scorecard and laminate
- Old Maid-use deck of cards and throw in a Joker as the old maid.
- License Plate Game-print out checklist and laminate
- Travel Scavenger Hunt-print out checklist and laminate
- Puzzle– place magnetic strips on the back of each piece so that it is easier to assemble while traveling.
Or check out the following sites for more game ideas and printables:
Games and Activities from Nick Jr. Website
Fun Travel Games and Prinatbles at MomsMinivan.com
Good luck piecing together your very own travel pail and REMEMBER…with this project you are limited only by your imagination!
[akingsford]
[designclass]


