
Making your own digital invitations, announcements and greeting cards can be simple, inexpensive and speedy…especially when you use helpful tools such as digital templates, that most of us digital scrapbookers already have on hand! Read on to see how to use Photoshop Elements or Photoshop CS PLUS a template to make your own personalized greetings, invites, and more.
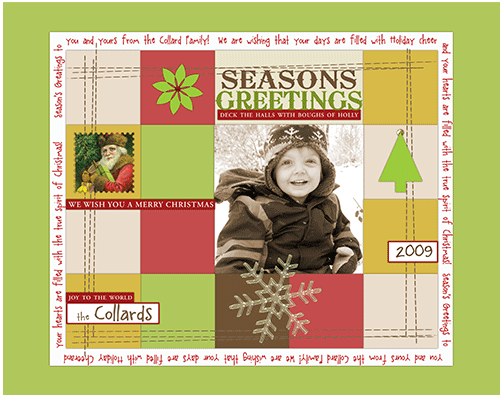
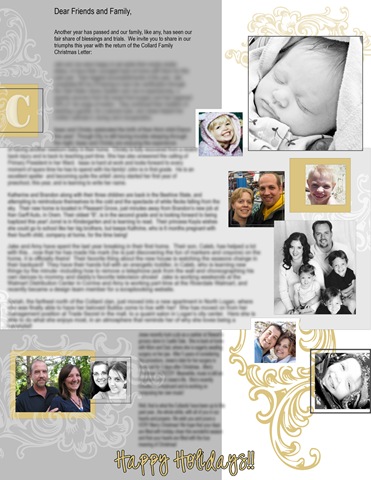
 Storyboard Template by Coffee Shop Actions
Digital Templates are highly versatile and with the number of styles, sizes and places offering them–finding the perfect template is often a snap! Whether you are interested in making your own Christmas Cards this year or you’d like to design your own personalized stationery, digital templates could offer you a fast, affordable solution.
Personalized Stationery using MultiFoto Layered Template No. 29 by Anna Aspnes
Now lets take a look at how simple it really is to convert any digital template into your very own invite, in just a few simple steps.

-
Choose a template that is suited to the project you’re working on and open it in Photoshop, I have chosen “Template #11, from Biograffiti’s Gridlocked No. 1.

- Next click on the “Image Tab” at the top left of the screen and select “Resize.” Remove the checkmark from the “Constrain Proportions” box and then make sure your resolution is suited for the project you are creating. (Note: If its something that will be printed out, your resolution should be set at 300. If it’s being published to the web, set it to 72). Then finally enter the finished measurements for your project and click “OK.”
- Now your template should be resized to suit the project you are working with. Newer versions of Photoshop are content aware and can change the size of a file without distorting the overall image, however if you are working with an older version of Photoshop then you may want to do some tweaking to make sure you are happy with the final proportions of your project.
 Papers and Elements from Emily Powers Moonlight Revelrie and Expectantly Yours Kits
- Next clip the papers/photos of your choice to the template, and add your elements and finishing touches. In these particular templates from Biograffiti she includes a number key to aid you in your design. you’ll want to delete that key before saving and printing.
- Now you’re all ready to print, address and send your invites in the mail!
[akingsford]
