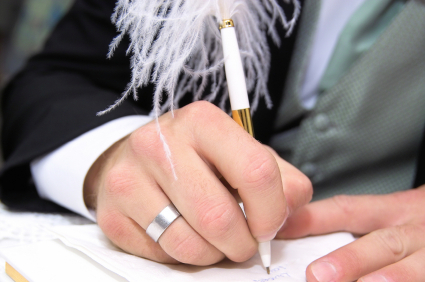
It’s June already…and love is in the air! How many of you are planning or helping to plan a wedding over the next couple months?! Well…why not save yourself some green and give designing your own guestbook a try? All you’ll need are a few supplies and you’ll be on your way!
Supplies
- A Digital Template Album
- Photo Editing Software
- Photos
- 2 Pieces of Chipboard
- Miscellaneous Paper and Embellishments
- Method of Binding
- Hole Punch & Book Rings/Ribbon
- –or–
- Binding Machine (Cinch or Zutter BIA) & Spiral Wires
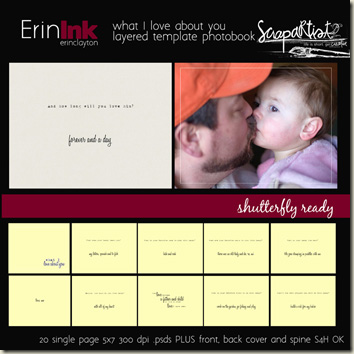
Begin by selecting a digital album with templates to work with, for mine I’ve chosen “What I Love About You” Layered Template Album by ErinInk This album has twenty pages, spaces for photos of the happy couple and is also Shutterfly ready…so if you decide you’d like to pay a little extra to have most of the work taken out your guestbook, then once you’ve designed your pages you can simply upload them to Shutterfly and have your book delivered to your doorstep!
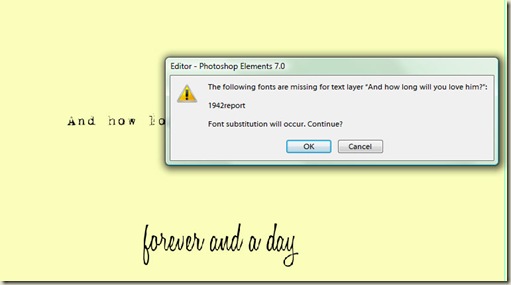
Next grab the fonts that are used in your template album (if you don’t already have them installed on your computer) so you can customize your book. You can find the name of the fonts you are missing when you open your templates in Photoshop and you are immediately prompted to select a substitution. In Erin’s template album, the two fonts used are Honey Script Light and 1942 Report both available for free download at Dafont. If you don’t care about substituting or are unable to find the fonts you are looking for simply substitute for a similar font.
Now you’re ready to begin customizing your pages, using the templates and your photo imaging software. Haven’t got a good image editing program installed on your computer just yet? No problem. Download a free trial of Photoshop Elements 8 here and get started today!
While designing your pages keep in mind to leave space along the left side of the paper for your holes to be punched–I would reserve at least a 1/2.”
With my pages I used digital papers by Shabby Princess that match perfectly the colors my sister-in-law has chosen for her fall wedding along with fun photo masks by Anna Aspnes to show off pictures of the happy couple!
Next you’ll need to design your lined pages for your guests to sign on. I used several digital products to create my page—they’re listed in the captions below.
I used a Thin Line Overlay by MaryAnn Wise, an Ornate Frame by House of Three, white paper by Amy Teets and and the fonts listed above.
Now you’re ready to print your pages. I set mine to print double sided, on heavy weight presentation paper, so the pages have a nice luster to them, but they are still able to hold up to the constant turning of the guestbook’s pages!
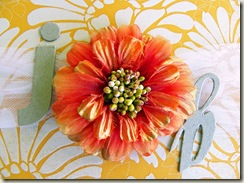
Next you can start designing your front and back covers, for which you will use two pieces of chipboard cut to just a bit larger than the size of your digital album pages. The template I used for my book prints out at 5×7, therefore I used two chipboard pieces cut an oonch longer and wider and decorated them with a fun patterned paper, tulle, monograms, and a silk flower. Remember to keep your binding method in mind while designing your covers!
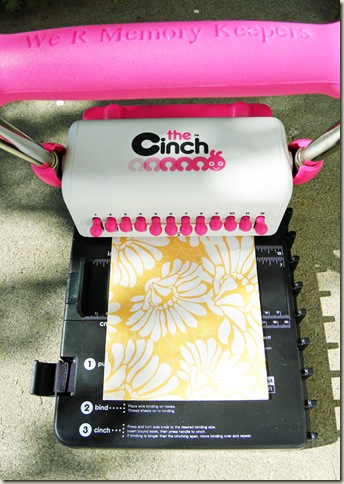
Assemble your album by punching holes through its covers and pages using a crop-a-dile tool or a binding system, such as a Bind It All or Cinch and binding it with book rings, ribbon, or spiral wires.
Now that you have you’re very own customized guestbook—at a fraction of the cost of a ready made one-what will you do with the money you’ve saved? Me…I’ll probably buy more scrap supplies…let’s hope you have more self control than I do!
Good Luck with those wedding plans!
[akingsford]

