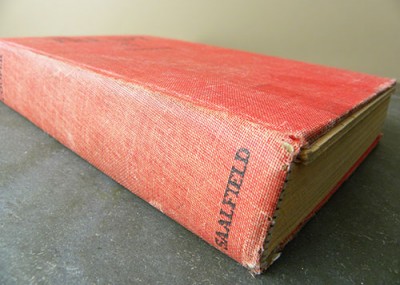
I have always been fascinated with old books . . . the smell, the worn edges, the discolored and torn pages all seem to hold a certain history that should never be discarded. Every year, though, libraries, bookstores and schools discard millions of books–leading me to believe that we are coming to the end of an era.
With the internet, audio books, and e-books now at our disposal, the “conventional book” is becoming largely overlooked. Perhaps now that we have new innovative ways to “read” our books, it’s time to search for fun creative ways to repurpose our old ones!
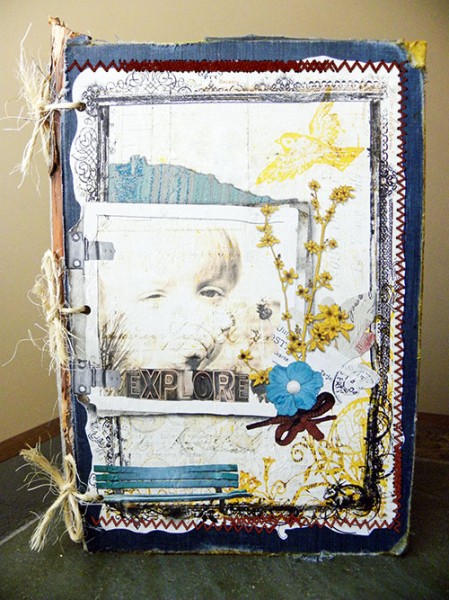
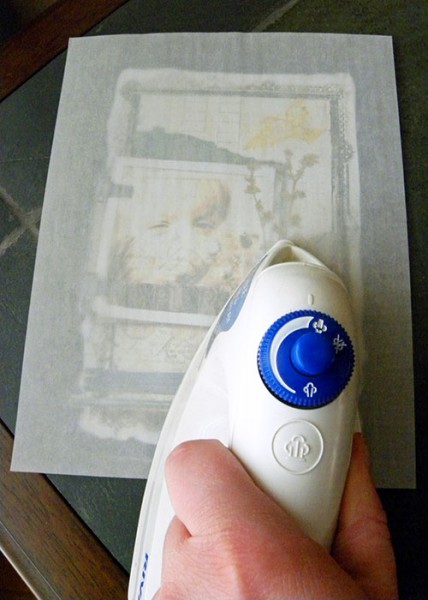
For this project, you will print an image (that you can design with digital scrapbooking supplies) to image transfer paper and then iron it onto an old book cover.
supplies & tools
- an old book
- image transfer paper (to print your cover image to—and then to iron on to the book cover).
- 3 book rings
- large stick
- iron
- drill
- jute
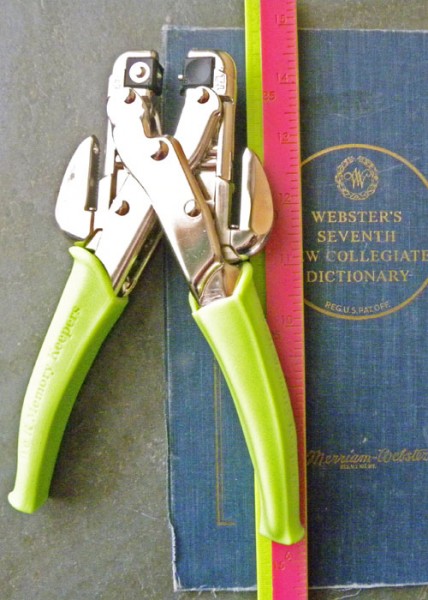
- Crop-a-dile or hole punch
- exacto knife
- photo editing software (optional) Note: For those of you without an old book on hand, check with local vintage stores, flea markets, schools, and public libraries for discards.
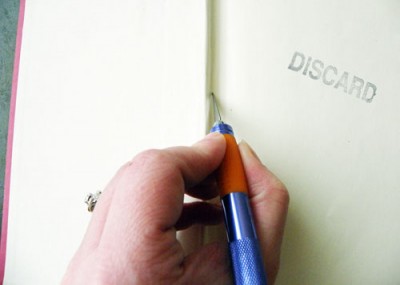
1. Remove the cover from your book, by using an exacto knife to slice through the paper lining and binding tape that holds the book together in the front and back creases. Then remove the spine from the front and back covers by slicing down each of the creases. Set aside the book’s spine and the bound pages–they may not be used in this project but they may be useful for future scrapbook pages and projects.
2. Using your photo-editing software or your own hand-drawn images, design the cover of your journal. I layered a digitally framed and hinged photo with other digital papers and elements to create my cover design. You may also buy a pre-made transfer. When choosing a transfer type, keep in mind the properties of the book you will be transferring it to (i.e., light or dark colored, the material the book cover is made out of, etc.) and choose an appropriate transfer method.
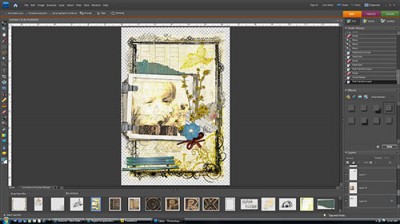
Supplies: Yesterday Page Kit by Anna Aspnes; Letterbox Naturalist Kit by Katie Pertiet; Ad Challenge 9-27-09 by Katie Pertiet; Everday Inspiration Challenge 10-25-09 by Katie Pertiet; Mixed Bag Brushes and Stamps No. 3 by Katie Pertiet all from Designer Digitals. Ornate Frames by Rhonna Farrer from House of 3; Big Dreams and Pocket Treasures Kit by Laurie Ann; Old Woody Alpha by Paula Kesselring; Studio Remnants by sherrieJD and Studio Tangie all from ScrapArtist
3. Whether you are printing your image or drawing it, make sure to read your transfer instructions to see if your image must be mirrored. Once your transfer has been designed and printed, trim around the edges as best you can, so that you avoid transferring negative space.
4. Determine the placement of your three holes in both the front and back cover and punch them out using your Crop-a-dile or hole punch.
5. Use a hot iron (check transfer instruction for temperature settings and procedure) to apply the transfer to the book using firm pressure. Avoid sliding the iron over your transfer as this creates slippage and bubbling. Remove the backing paper and allow the transfer to cool. If needed re-punch your holes in your cover, so that they are not covered by the transfer.
6. Find a stick approximately the inner circumference of your book rings and about a half inch longer than your book cover. Make clean cuts on the ends of the stick using clippers or a hand saw. Clean any fraying bark, stray branches, etc. Use the holes in your book cover to make markings on your stick that correspond.
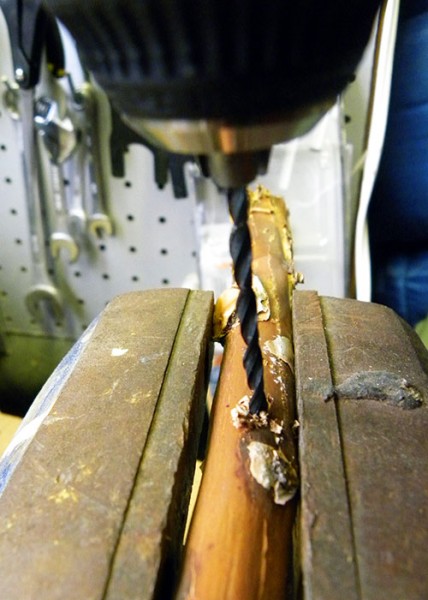
7. Clamp the stick into a vise and use a drill bit that corresponds to the size of your punched holes, drill the three holes through your stick.
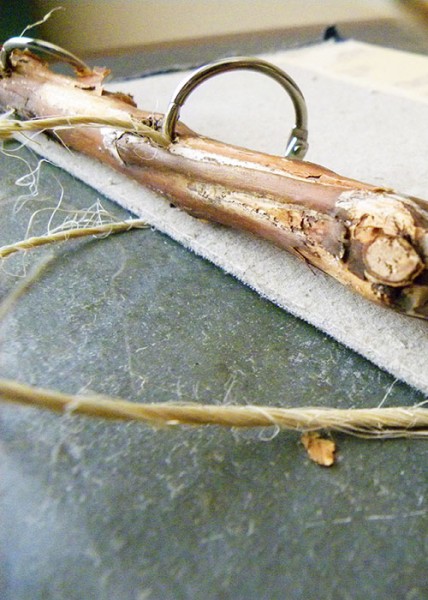
8. Now thread your book rings through the stick until the joint in the book ring prevents it from going further. The side in which the book rings protrude, will be the inside of your spine and your book rings will acts as a “three ring binder.” Then through the same holes, thread a length of jute that is equal to four times the circumference of your stick or book rings, in the opposite direction that you threaded the book rings (towards the front of the spine).
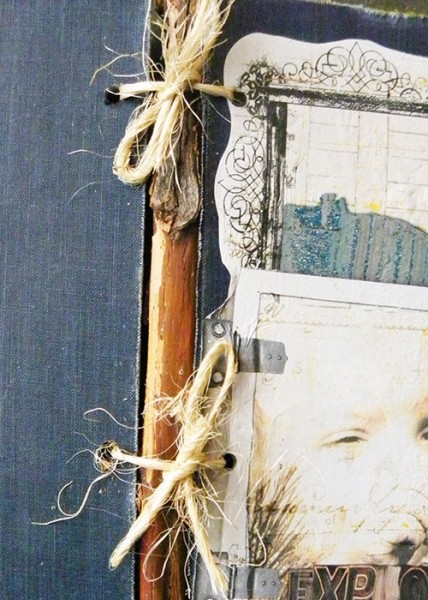
9. Continue threading the ends of your jute through the front and back cover and tye them in a knot, thus binding your cover to your spine.
Now you’re all ready to fill your journal with inspiration and memories! Here are a few ideas:
- Fill your journal with blank pages so that you may document your life on a daily basis.
- Use the original pages of your book (maybe two pages glued together for stability) and some gesso (as a mat for your any writing) to create a fun nature-inspired journal filled with poems, random thoughts, and photos of the beautiful world around you.
- Take one of the fabulous art journaling classes offered by Dina Wakley and you will soon have this journal filled and be moving onto the next!
- Or try your hand at digital art journaling, and register for one of Pattie Knox’s Digital Art Journaling classes!
[lovejournaling][akingsford]

