by Tami Taylor
The 3rd installment of a project in which Tami embarks upon a year-long quest (inspired by the Julie/Julia Project) to use the Get It Scrapped! book and website to Get It Scrapped! Get It Scrapped!: Organize, Visualize, Create. First edition, 2008. Written by Debbie Hodge. The book that began it all for a fun online community. You can buy the book at Amazon.com, and many local Joann’s and AC Moore stores (don’t forget your 40% off coupons for those local stores!).
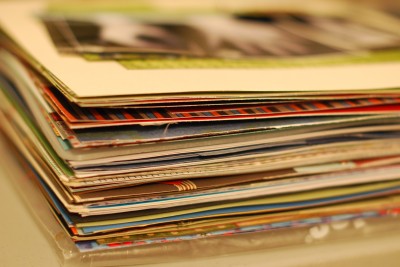
You know who you are. You’re the digi-scrapper who has made dozens and dozens of layouts that are now saved safely on your hard drive and fourteen back-up systems ‘just in case.’ You’re the paper scrapper with a knee-high pile of layouts. You’ve got all of these completed layouts with only a minimal number actually in albums. My father-in-law was the first to raise an eyebrow at my album issues. He would come over and ask if I had anything new scrapbooked. I did, but not in albums. Then he gave me the look–that raised-eyebrow-that-makes-no-sense look.
 It didn’t make sense. I’m not going to bring a stack of albums out for people to look through, especially if most often they are children with grubby hands. I needed a better album system than I had. Like many others, I started with Creative Memories. My albums were in chronological order, and in strap-hinge albums. I found that my creativity was not chronological. When I got a stack of pictures and loved a shot of one of my kids at the zoo, I hated having to scrapbook the month of pictures before the zoo outing. I scrapped what inspired me, when it inspired me. My layouts weren’t in albums because it meant work on my end. I had to remember dates and put them in order. If that wasn’t enough work, what if I had done a one page layout? I needed to make sure there was a second one-page layout from the same time to pair with it. What if I had skipped that zoo trip? How many pages should I leave empty for it? I am in no way exaggerating when I tell you that at one point I had five 12” stacks of layouts sitting along a shelf. Ironically, it was built by my husband to hold albums.
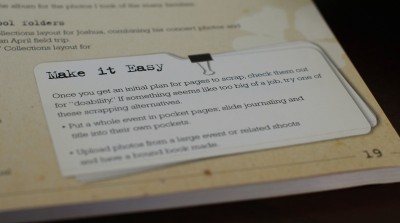
 So I posted on message boards, read books, and asked all my scrapbooking friends how they organized their albums. With all of the opinions and information I received and three words from Debbie’s book, I developed a system that worked for me. Now I don’t want to mislead you, Debbie’s book does not contain the greater mysteries of album organization. What it does do is briefly explain formats and album types. However, while reading the book three words on page 19 gave me permission to shun all of the “rules” I thought I had to follow.
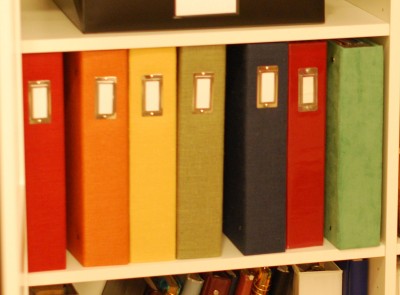
 The first thing I did was to switch to D-ring albums. This allowed me to insert pages wherever I needed. I loved the idea that if something came along in the future I could easily move pages around. This move to D-ring also was inspired by Debbie’s use of pocket pages. If I had loads of photos from an event like the zoo, I could scrap the moments that meant something and throw the series of elephant shots in pocket pages like these! I also fell in love with Ali Edwards’ idea of using different sized page protectors in the same album. [side note:: Ali has other articles on album organization that could help here.
After I made the decision to switch albums, I made a plan for organizing them. Keeping with my newfound mantra from Debbie’s book–“Make it easy”–I decided to have my albums match the way I scrapbooked. I took all of my layouts out of all of my albums and sorted them into piles. These piles each became an album (or a series of albums).
Years – These albums house the events, everyday life and moments of our family. Some of these events I will scrap again for a specific child’s book if it is relevant to that child.
Kids – Each child has their own set of albums that hold layouts of events, everyday life, collections, world and moments that are specific to that child.
Christmas – This is a big collection album. It has just layouts of our family’s Christmas activities.
Me – This is the book where I put my events. I also use this book to reminisce about my world, current events if they move me to do so, or just scrapbook things for the pure fun of the art.
I have found this to be the most relaxed method of organization for my albums, which still allows me to feel organized. How are your albums organized? Do you have a pile of layouts towering on the corner of your scrap desk? Need help developing a system? Join us in the forums and let us know where you are with your album organization. If you’re brave, share how many layouts you have sitting in pile(s).
This is the last leg of organizing. As you may have noticed, I did not cover supply organization. This isn’t something that can be easily covered in an article so I ask you to keep an eye on the challenge forums in April for the Spring Cleaning challenge. We’ll kick off that challenge off and discuss this project in a chat on March 31st at 9PM EST.
For the rest of the year, the GIS project will focus on learning about the different types of pages and how to scrapbook those pages. This means we will be producing a massive amount of layouts. In anticipation of that, I challenge you this month to get prepared. Organize your photos, organize your stories and get your layouts put into albums. Imagine with all of this organization how much time we’ll have to Get It Scrapped!
[ttaylor]

