It’s that time again–time for New Year’s Resolutions. What are you going to strive to accomplish this year? What are you going to give up? How are you going to change yourself for the better? We all ask ourselves these questions–but the real trouble is how do we get ourselves to commit to the resolutions we have chosen?! I’ve found that by making my goals visible, I am reminded of the pledges I have made to myself and therefore encouraged to work toward them on a daily basis.
This year I have chosen 5 goals to work toward:
- Become more physically fit
- Take a vacation
- Enjoy cooking more
- More one-on-one time with my son
- Read more
Display your New Year’s resolutions on a CD banner
This year I’ve created an original way of making my goals visible to myself and others (your family and friends can be great motivators towards meeting your goals) in this CD Banner/Mini Album. This design is perfect for displaying your goals during the year you are currently working on them, and then can easily be converted into a mini album after you have reached your goals—and are perhaps focusing on new ones!
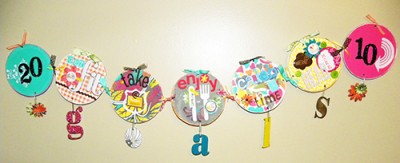
supplies
- old, scratched or brand new cds (don’t use your husband’s backup disk or his favorite chicago cd! lol)
- coordinating patterned papers, embellishments, stickers, and ribbons
- sand paper
- adhesive
- journaling pen or computer
- Crop-a-dile (or a hole punch will work, but be careful not to break the cd!)
- craft knife or scissors
- and–your New Year’s resolutions, of course!
how-to
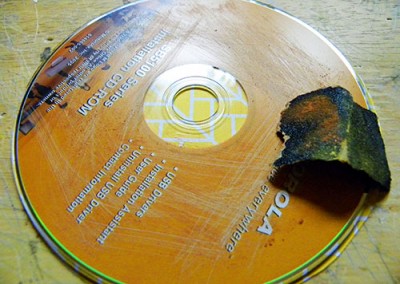
- Prep your CDs for decorating by sanding both sides with sand paper. This will remove the glossy surface and create a texture that helps your adhesive stick better.
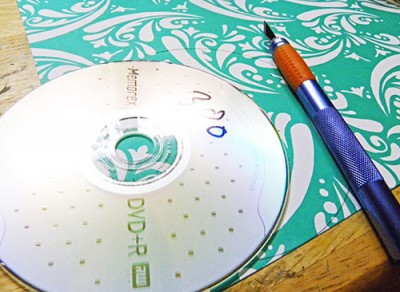
- Trace your CDs onto patterned paper with a pencil. Cut them out with your craft knife or scissors, making sure you have enough circles cut out to cover the front and back sides of each disk.
- Apply any edge treatments (I.e. sanding, inking, stitching, outlining, etc) before adhering the paper circles to your disks.
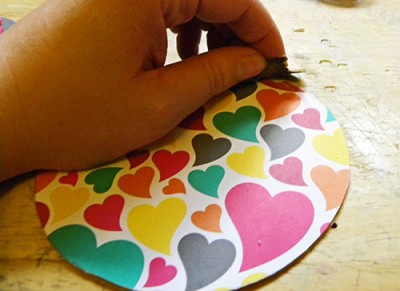
- Adhere your paper to both the front and back of each of your disks using adhesive.
- Punch holes at 12, 3, 6 and 9 o’clock on your disk.
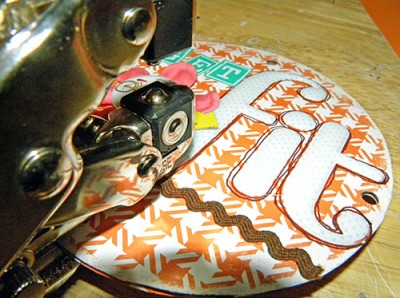
- Decorate the fronts of your CDs, illustrating your New Year’s resolutions or goals.
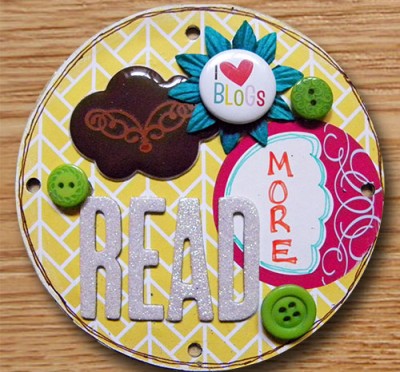
- Decorate the backs with journaling, written plans, checklists, etc.
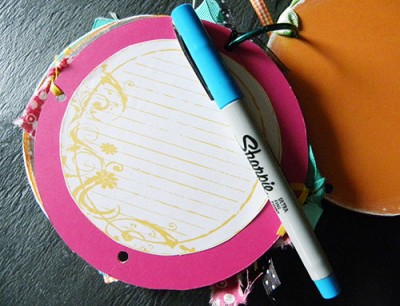
- Now connect your CDs by tying them together with ribbon or connecting them with ball chain/safety pins, using the holes at 9 and 3 o’clock.
- You can add additional elements like tied ribbon or hanging chipboard letters in the unused punched holes on your disks for a bit of extra zing!
- Finally, hang your banner where you are sure to see it every day. I hung my over my scrap table–the one place I’m sure to visit each day! When you’re ready to store your banner, simply remove the means by which the discs are connected and then use the holes to reassemble the discs to make a book. You can create an accordion style book by alternating the disks and reconnecting the ribbons or ball chain you previously used to make your banner. You could hold all of the discs together with an O-ring clasp or ball chain from the top or side hole–you decide what type of closure works best for you! Then redistribute your left-over ribbon or hanging elements to the unused punched holes inside of your new mini album!
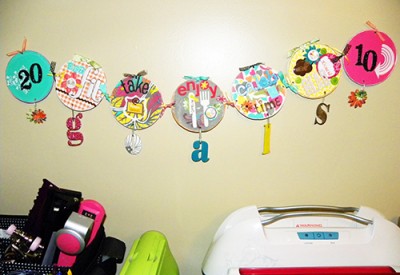
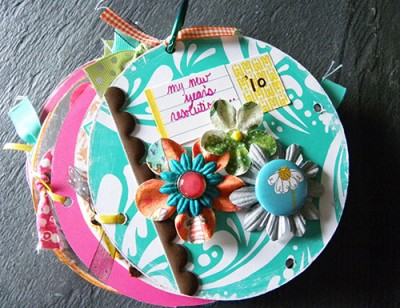
Whatever pledges you make this year, or however you plan to carry them out, try making them visible! By taking a bit of time to scrapbook your goals or making yourself a journal to track your progress, or even by creating a snazzy little reminder (like my CD banner), you will increase your chances of following through on the goals you have set for yourself. Be sure to post your creations in the Get It Scrapped! gallery so that we can all be inspired by your creativity and your determination! Happy New Year!
[akingsford]

