by Tania Willis
Looking for ways to bring a little papercrafting into your holiday gift giving? If so, today I have a few very simple, yet very stylish ways in which to do so! Gift giving has never looked so cute—nor been more affordable since I’m encouraging you to dive into your scrapbooking stash to dress up those packages.
decorate store-bought packaging
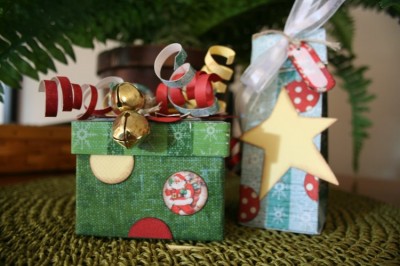
Adorable trinket sized boxes are readily available almost anywhere you can buy gift wrap supplies. My favorite place to pick up a random assortment of boxes is the Dollar Tree and the paper mache aisle of my local craft retailer. These boxes just beg to be gussied up and beautified.
I love to dig in my supply of patterned paper to choose just the right pattern for my present. More fun than covering the box though is creating the topper to go on top.
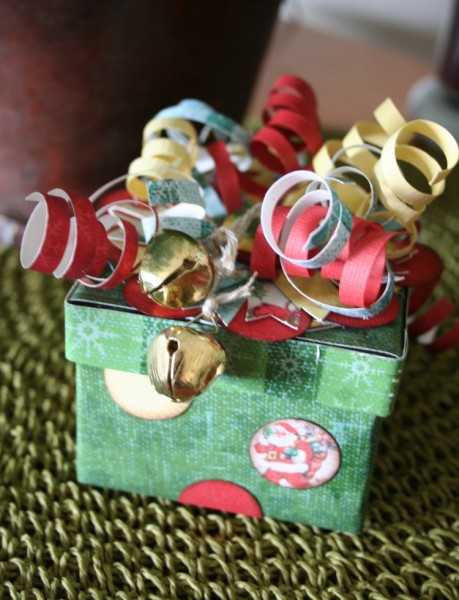
For this box, I created a paper ribbon embellishment that was adorned with buttons and dangling jingle bells. Here’s how:
- Punch 1 ½” circle from chipboard.
- Punch 1 ½” circle from patterned paper.
- Adhere patterned paper circle to chipboard circle.
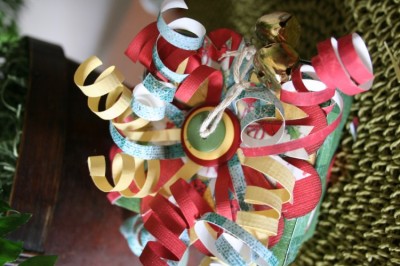
- Cut (12-14) ¼” x 12” strips of patterned paper.
- Wrap strips around a pencil, pulling tightly as you wrap.
- Gently slide paper curl off pencil.
- Adhere one end of each curled strip to the center of the chipboard circle.
- Stack 2 or 3 buttons and thread a 10” piece of ribbon or jute through the holes.
- Tie ribbon/jute in a knot and adhere buttons to center of ribbon curls to cover where they are adhered.
- Tie jingle bells to the ends of the ribbon/jute.
What’s even better? Once decorated, these boxes can be used over and over and over again!
wrapping with papercraft supplies
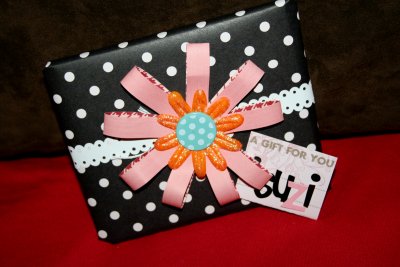
Another idea is to use your paper craft supplies in place of gift wrap supplies for those smaller items of gift giving (i.e. gift cards, CDs, keychains, wallets, etc.)
For this gift wrap, I chose a dark color of patterned paper to wrap up a CD for a friend. Then, I created a custom topper with another sheet of patterned paper and miscellaneous embellishments. Super cute, right!?
Instructions for the Bow:
- Cut 8 1/2″ x 5″ strips of patterned paper (all matching…..or not).
- Using a small hand-held hole punch, punch a hole in BOTH ends of each strip.
- Stack all your strips together so the holes line up.
- Place a brad through all 8 strips on one end.
- Bend your strips to form a loop and place the brad through those 8 holes.
- Separate brad prongs to hold strips in place.
- Fan the loops out evenly spaced to form a bow.
- Attach bow to package using glue dots.
Happy gift wrapping!
[twillis]


