Often the biggest impediment to getting events scrapped is making the time to go through the many photos. Here’s an approach that shows you how to organize and winnow down the number of photos you put onto your events scrapbook pages. Impossible as it sounds—try to do this quickly. Your first instincts will guide you well.
first pass at selecting photos for events scrapbooking
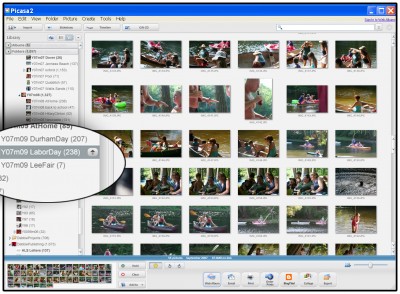
Take your stack of photos—or open up your photo browser to the folder with your photos—and simply make a pass through pulling the ones you really like. Pulling digital photos involves either “flagging” them or putting them in their own folder. In Picasa, this is done by clicking on the yellow star at the bottom while your photo is selected. In the first screen here, I began with 238 photos from our Labor Day party and by the end of my first pass, I’d “starred” 42!
second pass at selecting photos for events scrapbooking
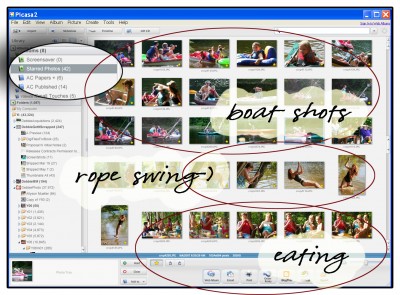
Take your pulled photos. Digitally this means going to the folder or “starred” area. In Picasa, I went to the “Starred Photos” folder holding my 42 selected shots. Now it’s time to figure out some logical groupings. With Picasa, I can drag photos around within the folder. For me, the logical groupings turned out to be: 1) people in boats; 2) rope swing activity; and 3) hanging out and eating shots.
third pass at selecting photos for events scrapbooking
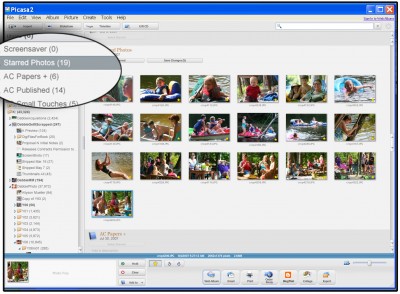
With your photos grouped, it’s easier to see the duplicates and photos that just don’t add a lot. “Un-Star” those photos to reduce the number of photos you’ve chosen. With prints—just remove them from the stack. I got mine down to 19 starred photos that I think I will use. Once I print them and start pushing them around the page, the number might get smaller.
* REMEMBER—extra photos can go in album pocket pages, pockets built into your page.


